Transfer VHS to DVD
To transfer VHS to DVD properly, it is important to optimize the video signal before digitizing it. This is achievable by using good playback equipment, the best video connections, and signal correction devices.
SEARCH FOR VHS TO DIGITAL CONVERTERS
Video Playback Equipment
The most fundamental part of digitizing VHS or other type of analog video is the playing of the tape. If the tape plays poorly, then the signal fed to the digitizing device will be poor. The final digital video product, whether a DVD or other digital video format, will also be poor. Just because video is transferred to a DVD does not necessarily mean it will be comparable to the typical DVD quality. There is an old saying in the video digitization field – “Garbage in, means garbage out.”
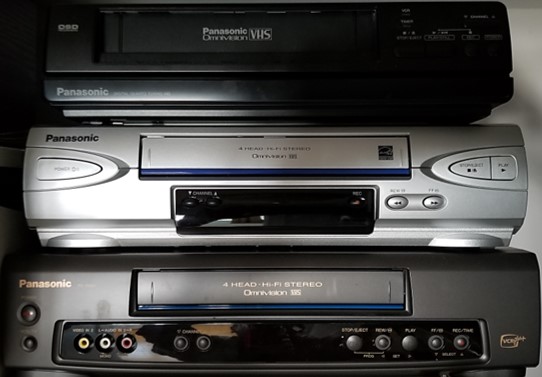
To transfer VHS to DVD, an important requirement is a good quality video cassette recorder. Avoid using cheap equipment. The equipment must also be clean and the internal tape guiding system properly aligned. If the VCR is not performing properly or has experienced extensive use, then it is a good idea to get it professionally cleaned and serviced before beginning the transfer process. It may be a good idea to purchase a new VCR, although nowadays it is getting harder to find VCRs, let alone good quality ones. At the very least, use the newest and/or best unit available.

If possible, use a S-VHS machine or pro type VCR. These upper end units will allow for better output video connections than standard consumer video cassette recorders can provide.
Video Connections to Transfer VHS to DVD
For VHS VCRs the options are composite or S-Video. If a playback unit is available that has the S-Video output, then use this option. Otherwise, use the composite outputs. This is explained in more detail at the VHS to digital page.
Tracking Adjustment
Another important step to transfer VHS to DVD or to any digital video file format is signal correction. Tracking is the most basic adjustment possible on any VCR. Play a small portion of the videotape and adjust the tracking button (usually on the remote) by pressing the up or down direction to clear the picture from waviness or horizontal lines on the screen. Making the tracking adjustment in the wrong direction will be obvious as the picture quality will degrade significantly. Video tracking adjustments may or may not be necessary, but will be determined when playing and examining a sample of the video.
Time Base Correction (TBC)
Higher end VCRs may provide internal time base correction (TBC), which eliminates problems in the video signal by: making adjustments to the technical parameters of the signal (voltage, horizontal phase, chroma phase, etc.); synchronizing video parameters with other equipment; and correcting various defects in the video signal. External time base correctors can perform the same functions as internal ones. The video from the VCR is fed into the TBC prior to going to the digitization device.
Waveform Monitor and Vectorscope
In addition, in the transfer VHS to DVD process, more corrections or adjustments to the outputted video signal are possible using a waveform monitor or vectorscope. These devices can be software or hardware based. Knowledge of the proper use of these devices is critical, otherwise more harm than good will occur to the video signal. Generally, these types of devices are only utilized in higher end transfers because of the cost of the software/equipment and the expertise required to fully understand how to use them properly. For the average transfer job, tracking correction and time base correction are usually the only requirements to get a reasonable quality output video signal that will feed into the digitization device.